
[ezcol_2third]
After a client is registered, they need to be approved for bookings. Further functions can be added later.
Enabling a new client to access the full CEDAH functionality takes three short steps:
• Registration: Basic details of the business, agency, household or person need to be loaded into the CEDAH.
• Approval: A member of agency staff has to confirm the client is allowed to make bookings.
• Advanced functions: There are further functions the client can exploit that you may want to set up immediately.
Registration of a new client
Basic details of a client can get into the platform in one of three ways:
- Self-registration: Your agency may decide to allow potential clients to enter their own details. There’s then a link to a registration page that can be put in any document or website. To see this for a fictitious agency click here, try registering an invented person to get a feel for the process.
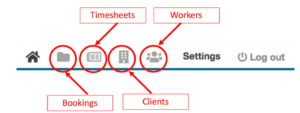 Registration by agency staff: If you want to enter details of a new client, click the clients icon in your main menu:
Then tap the NEW CLIENT button at the top of your workscreen:
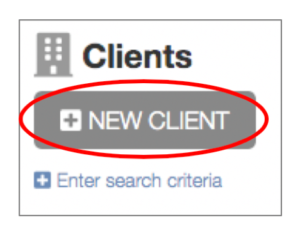
Only boxes with a red Asterix (*) must be filled in. Many boxes on the your registration screen will complete themselves automatically.
- Bulk upload: A spreadsheet of existing clients can be uploaded into the system. It will highlight any data that is incomplete. We recommend you allow us (the CEDAH support team) to do these uploads for you.
Approving a client
With the details of your new client in the system, it’s time to give them permission to make bookings. To do that, you need to find their record. Here’s how:
- Search their name: If you know their name, the record can be found very quickly using your Fast Search box at the top of all screens.
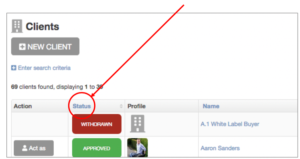 View everyone who’s waiting: For a list of all clients waiting to be approved click the client icon on your menu bar (it’s the one that looks like a building). That brings up your workpage. Click the “Status” column heading once. All clients waiting for approval will come to the top of the table.
Once you have a list that includes the client you want to approve, click on the name of the client. You will land on their Overview page. This page can’t be accessed by the client; it is where the agency control what they are permitted to do. Any changes must be saved using the OK button at the bottom.
There are three key sections:
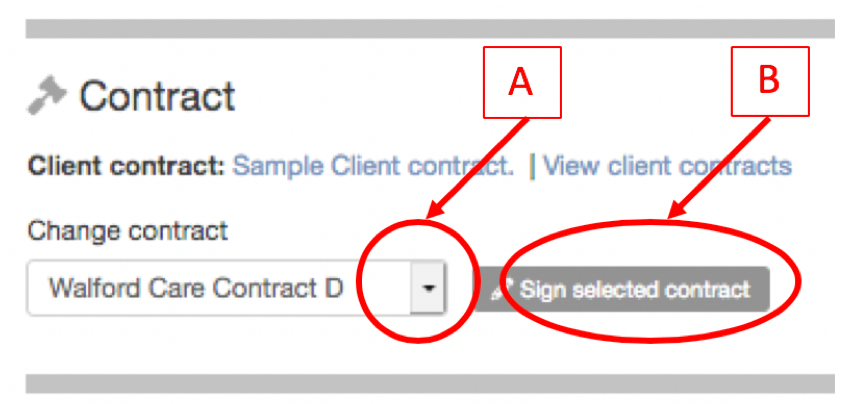
- Contract: Your agency can have any numbers of contracts that allow a client to make bookings. Using the drop down box (A) select the one that is to be applied to this client. (Your agency may only have one contract in the system.) Then click the “Sign” button (B) next to the box. You will be shown the wording of the contract and asked to confirm that you are happy with it.
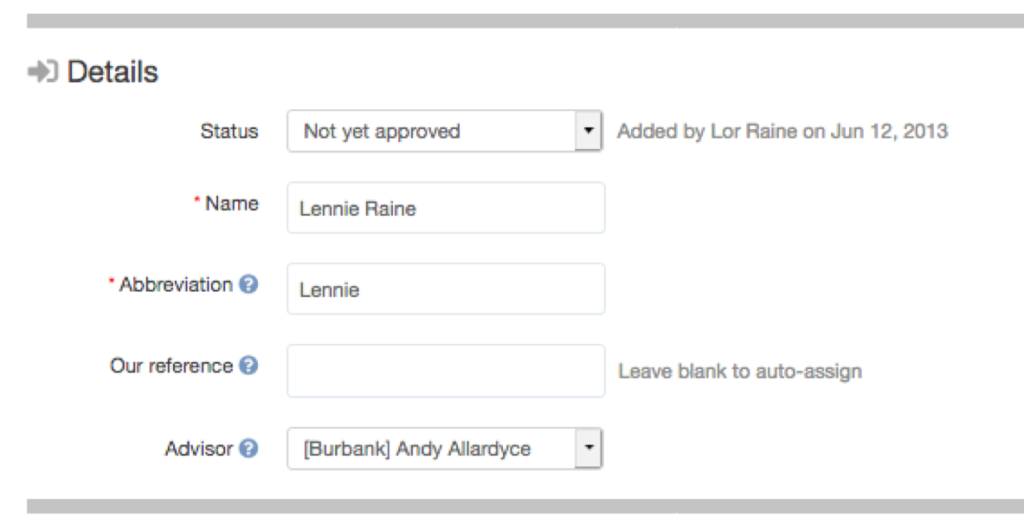
Details:
- Status: The status needs to be changed to Approved before the client can become active in the system. Only Managers and Superusers at your agency are able to do this. But frontline staff can still set up everything ready for final checking before approval.
- Name: The system already knows the name but you may want to re-check it on this screen.
- Abbreviation: This is a shortened version of the name used where there’s a shortage of display space on screens, or to make the system more friendly by just using a client’s first name for instance. It will generate its own shortened name if it needs to, but you can enter your own.
- Our reference: Do you have an identifying number or code you want to give this client? If so, enter it here. If you’re happy to let the system generate its own reference leave this field blank.
- Advisor: This is the agency staff member who will be in charge of this client. Select from the list.
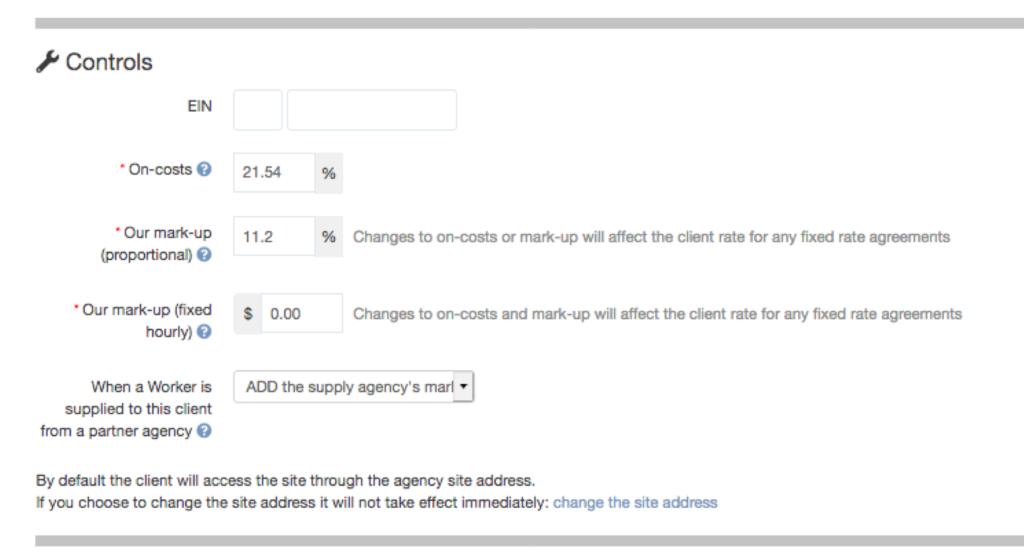
Controls:
Many times you will be able to ignore this section. But everything is made visible in case you need to change any entries.
- EIN: Do you have an Employer Identifying Number, sometimes called a Tax Number, for this client? It will be formatted XX-XXXXXXX. If you want the CEDAH to store it, enter it here. But it is not essential.
- On-costs/Our mark-ups/Partner agency rules. These settings will all be pre-loaded by the system based on your agency’s rules. Unless you want to make an exception for this client, we suggest you ignore this part of the screen.
Once the status is changed to approved, your client can be active in the market. They can make bookings or agency staff can make bookings for them.
Further Resources
⇒ An initial video showing how to set up a client or worker can be viewed here.
[/ezcol_2third] [ezcol_1third_end][/ezcol_1third_end]